
Body Geometry FIT at Specialized
Some pretty exciting stuff has been happening over at Specialized. I told you about the brand new Specialized concept store over at Pasong Tamo. Now, they’ve launched the Body Geometry FIT. I was lucky enough to be one of the first people to try it.
[WHAT IS BODY GEOMETRY FIT OR BG FIT?]
BG FIT (Body Geometry Fit Integration Technology) is a comprehensive fit philosophy created to help cyclists ride faster, longer and in greater comfort, while reducing the chance for injury. Developed after years of working with Dr. Andy Pruitt Ed.D., Director of the Boulder Center for Sports Medicine, it is a comprehensive fit system that creates the perfect marriage between bike and body.
Locally, there are only three certified experts who can give a you a BG FIT: Andy Leuterio, Keshia Fule, and Jami Ramirez.
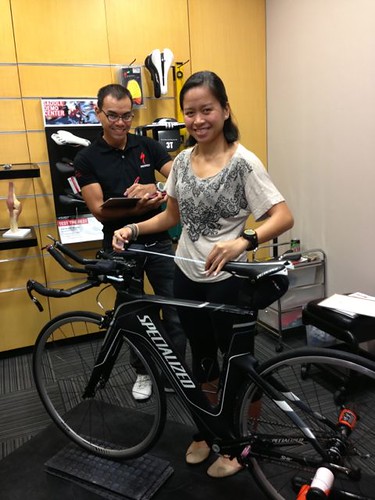
– BG Fit experts Andy and Keshia –
Check out this video about the Body Geometry FIT…
[MY BODY GEOMETRY FIT]
I arrived in full bike gear ready for my BG FIT with Andy Leuterio who happens to be my tri coach. Allow me to walk you through the entire process:
1) OPENING INTERVIEW: Coach Andy asked me about my history as an athlete and as a cyclist, my profile as a cyclist, past injuries, and more.
2) 20-STEP FIT ASSESSMENT: I went through a series of very simple tests from measuring my butt using the ass-o-meter (I kid you not!) to measuring my leg length and more.
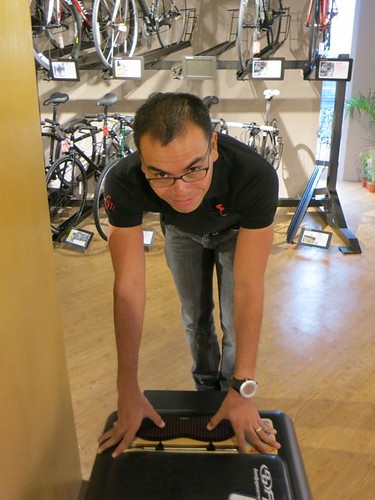
– Andy and the ass-o-meter. I like the sound of that! –
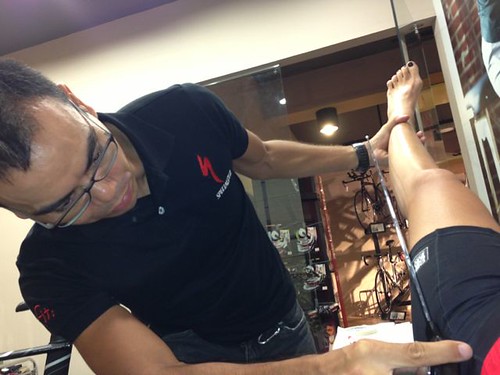
– My left leg is shorter than my right. Boo! –
Here are some embarrassing facts about my body flaws as gleaned by Coach Andy from my assessment. Written in his own words:
- Mild to Moderate varus forefoot angulation, with moderate arch height: As the foot “collapses” under load (your “flat feet”) this causes a chain reaction leading to knee “wobble” and possibly the cause of your ITB pains.
- 3-4mm Leg Length Discrepancy: Your right femur is longer than your left. Pedalling biased towards your right leg can make your left reach further down to complete the stroke, and this can also affect your ITB. In some cases, this can also be a cause of unilateral saddle sores.
- Sit bone width of 130mm. Currently “all over” the saddle due to insufficient saddle width.
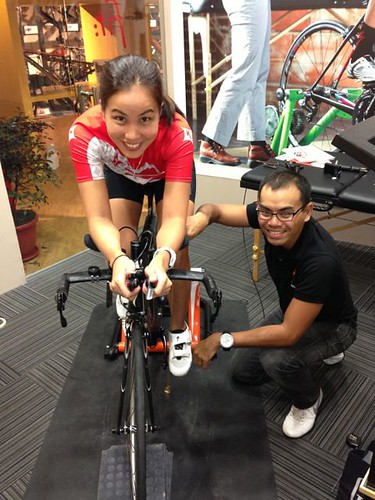
3) SIDE VIEW ANALYSIS AND FRONT VIEW ANALYSIS: Andy asked me to ride in aero position on the bike and assessed my position.
4) DETAILED EQUIPMENT ADJUSTMENTS: Coach Andy then made the following adjustments to the bike. Here he explains each one:
Remedy 1: Replacement of saddle with Oura Pro. Measurement of your ischial tuberosities (the “sit bones”) revealed a width of 130mm, which in turn necessitates a saddle width of 155. This ensures your sit bones are properly supported so you can sit “square” on the saddle. Riders new to such support often experience a “different” feeling as the bottom is now supported on the bone rather than on the fatty part of the buttocks. The benefit is they now won’t feel the need to constantly shift to support their weight.
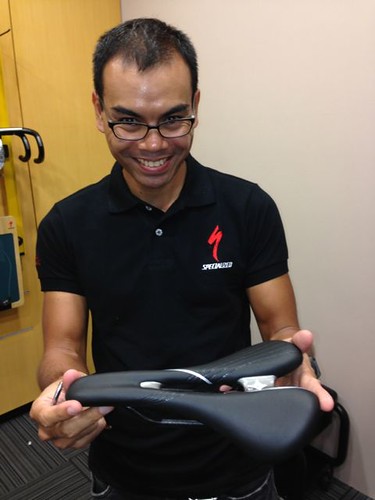
– Thank you Specialized for this Oura Pro. I know exactly why they call it this. When I sat on it for the first time, I said: Oooooh-Ra-Ra! Ultimate comfort! –
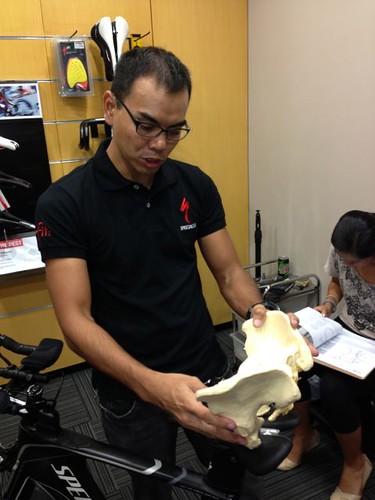
– Coach Andy explains sit bones like a doctor! Methinks he needs a lab coat –
Remedy 2: Saddle height and fore/aft optimized for your “short leg”.
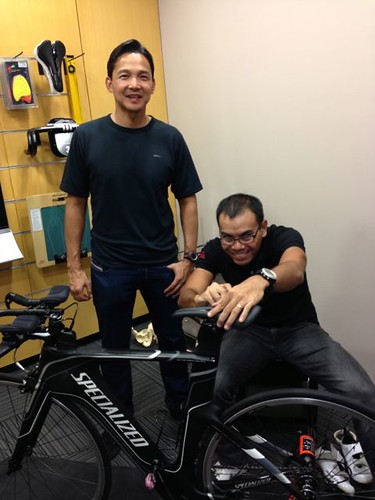
– Andy moves my saddle up and forward. Bike adjustments took most of our time. It was trial and error as I had to ride on the bike to check if each adjustment in the saddle and aerobars were comfortable with me. Good thing Maiqui Dayrit of Fitness First Team and Yurbuds (who incidentally bullied me way back in college!) dropped by for some chit chat –
Remedy 3: Placement of your right cleat further back than the left to effectively “shorten” your right femur and make it approximately the same pedaling length as the left. (the femur moves more along the horizontal plane compared to the tibia)

– Andy adjusts the cleats –
Remedy 4: Blue” BG footbeds with additional varus support compared to the standard 1.5mm support of your current Trivent shoe footbeds. Plus additional 1.5mm varus wedge under your left footbed. Additional foot support places a firm platform to quell the foot collapse so there is no power loss. This helps cure the knee “wobble” (or more technically, your knee tracking in varus) and, thus, ensures no power loss as your leg drives downward. Imagine a piston cleanly tracking up-and-down versus shaking throughout the stroke.
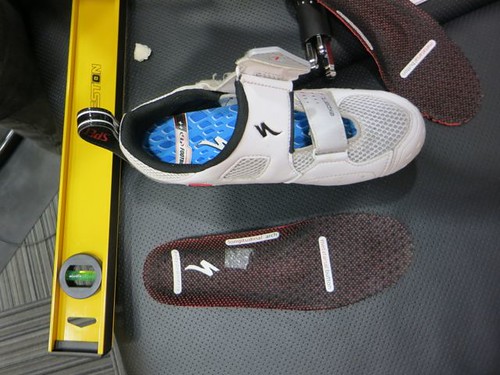
– Andy gave me a new footbed and a wedge underneath the left footbed –
Other Adjustments: Move your aerobars further back so your elbows form a 100–110 degree angle in aero. This ensures the cockpit provides ample skeletal support so you have no need to stretch out to place your forearms on the aerobar pads.
5) FOLLOW UPS. I was told I would have to come back after a few weeks to make adjustments. Coach Andy advised that there is an adjustment period as my body becomes acquainted with the new fit, especially with the saddle. He reminded me to be patient and ride the bike regularly for the next 3 weeks, and to inform him immediately if there is any pain or discomfort not associated with normal rider fatigue.
– After 3.5 hours, we got the BG FIT right! –
[THE VERDICT: ONE WEEK AFTER]
Two words: Woaaaah baby!
The first few short rides out and on the trainer were adjustment periods. I felt uncomfortable at times and slightly lowered my seat (with Andy’s approval.) Today, I rode 75k in Nuvali. I felt more powerful. It was much easier for me to pedal faster and harder, I was more comfortable in aero position, and OMG my feet were in heaven because of those footbeds.
I had to temporarily replace the Oura Pro with my old saddle because we’re still waiting for the saddle adapters to come in so I’m looking forward to an even more comfy (and hopefully faster) ride when I use those.
Huge thank you to Joey and Jami Ramirez, Andy Leuterio, Keshia Fule, and Specialized mechanics for the help!
I wanna be like Emelia Fahlin when I grow up!
[DO YOU WANT TO GET A BG FIT DONE?]
Introductory rates for a BG FIT are at P4,000 for Road/MTB and P5,000 for Time Trial/Triathlon bike. For inquiries and appointments, call Keshia Fule at 0919-860-3241.
[TIPS WHEN GOING FOR YOUR BG FIT]
- Clear your sched for 4 hours to be safe. It can vary from person to person depending on how simple or complicated your case may be. Well, due to all my body flaws, my BG FIT took 3.5 hours. (3.5 hours that were well worth it for me!)
- Come in what you normally wear when you ride your bike. Bring your helmet and bike shoes too. Unless you want wear those into the store too for a complete biker look. Duh!
- Bring a small towel. The aircon in that room is super strong, but you may still sweat during the adjustment process.
- If your bike came with a set of shims and spacers for the cockpit, take those with you.
- Bring snacks. No one should go hungry during a BG FIT.

Jaymie is better known as The Bull Runner in the running community. She is the founder of this award-winning blog, TheBullRunner.com, and the first and only marathon in the world that caters to first-time marathoners, TBR Dream Marathon. Jaymie has run 16 marathons all over the world and finished Ironman 70.3 twice. She dreams of running the world... literally.


